Moving into a new home comes with many problems … One being that furniture that may have fit beautifully in your previously property may not have a purpose in your new home (no matter how much you love it) This was the case for our beautiful IKEA liatorp bookshelf, that just didn’t quite fit into our new lounge room.

There was a great little corner that it would have looked amazing in, but the unit was too large to fit, and it would have been covering a door that opens to vast under stair storage! … This plagued me. I knew how brilliant it would have looked in the little corner … I had a thought (with my sisters nudging hehe)… what if I custom-made my OWN Liatorp shelf INTO the little corner… I was determined, I didnt want any mans help .. I was going to make this .. ALONE haha!
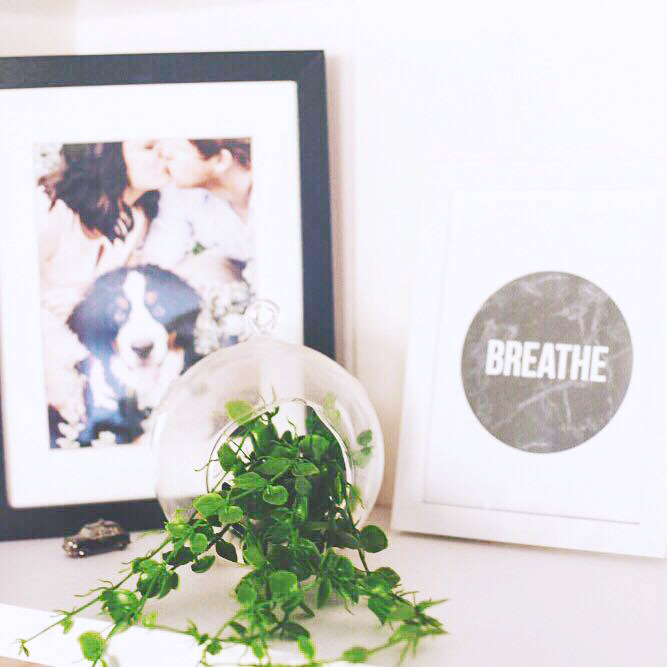
I wanted to add the same character and detail as the Liatorp and here is what I created:
![©[e]](https://erin-mckenzie.com/wp-content/uploads/2016/04/13009679_10154716916274018_421588235_o.jpg?w=1536&h=2048)
![©[e]](https://i0.wp.com/erin-mckenzie.com/wp-content/uploads/2016/04/12986535_10154716910829018_513945371_o.jpg?w=260&h=347&ssl=1 "©[e]")
![©[e]](https://i0.wp.com/erin-mckenzie.com/wp-content/uploads/2016/04/12986818_10154716919694018_1895412336_o.jpg?w=232&h=347&ssl=1 "©[e]")
![©[e]](https://i0.wp.com/erin-mckenzie.com/wp-content/uploads/2016/04/12992196_10154716919254018_465177011_n.jpg?w=121&h=121&crop=1&ssl=1 "©[e]")


![©[e]](https://i0.wp.com/erin-mckenzie.com/wp-content/uploads/2016/04/12992817_10154716919479018_589362705_n.jpg?w=121&h=121&crop=1&ssl=1 "©[e]")
Did you have a similar little nook in your home that you want to transform?
Create this yourself:
What do I need?
- Flybead mouding I needed around 3m – approx $15
- Liquid nails – $5.50
- Primer (recommended, but I didn’t actually use any haha)
- Paint of your choice – I chose a semi gloss white -$20.00
- Floating Shelves at the size you need (I purchased 3 x $30ea) – $90.00
- Easycraft panel – $27
- “No more gaps” – $4
Liatorp bookshelf w/ door cost: $600
TOTAL cost of DIY booknook: $161.50
Tools
- A good saw
- Miter Box for easy angular cuts
- small nails
- jigsaw
- Possibly need a plane to file down easy craft panels
- A drill
Simple How To:
- Measure, saw and glue the beading to create detail for the doors, to desired dimensions. Cut beading on angle to create a seamless finish
- Pin and glue moulded detail to the doors
- Measure, draw and jigsaw easycraft panel to fit space. May need to plane down the sides to squeeze into gap
- Apply liquid nails to back of the easy craft panel
- Pin panel down with nails for extra security
- Prime the doors for painting (if necessary)
- Fill the edges and any gaps with no more gaps for a really finished look
- Paint the doors, moulding and easy craft panelling in paint of choice. (2-3 coats) I also repainted the cupboard handles at this time.
- Install floating shelves via instructions provided, being careful to ensure that wall fittings go through easycraft panel and into the wall for extra stability and strength
- Fill shelves with your favourite things & Enjoy!!
Check out the slideshow for photos of the process
[e]


Leave a comment